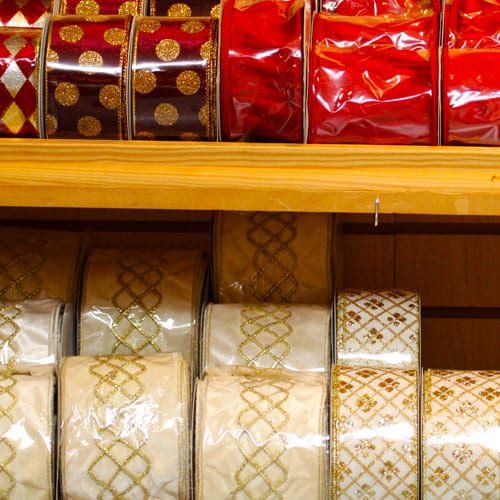
Completing your holiday décor, perfecting your gift wrapping, and finishing your fresh garland-lined staircase all need one thing – the perfect bow. Check out our video for step-by-step instructions from our experts on how to make the always classic and ever popular, Cornelius bow!
How to make a Perfect Cornelius Bow
STEP 1: SELECT YOUR RIBBON & GATHER YOUR SUPPLIES
First, select your ribbon! You will need 2 yards each of 3 different ribbons. In addition, you will need 18 inch floral wire, and floral tape.
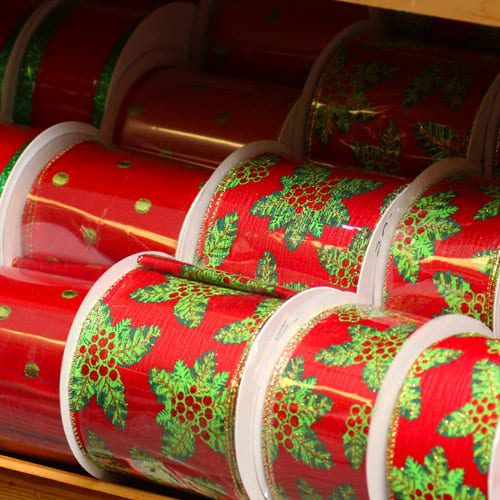
For our Houston residents, Cornelius has the best selection and a huge variety of Christmas ribbon to make your bows even more stylish!
STEP 2: SET UP FIRST RIBBON
Grab the first piece of ribbon. You will start with the end of the ribbon that looks like a long tail. Don’t make it too short for larger bows and avoid letting it be too long for smaller bows.
Then, scrunch the ribbon at the ideal height of the tail and create your first loop. The loop will meet at the scrunched area. Give the ribbon a half twist to keep it in place.
Make a loop that matches on the opposite side in length. Give the ribbon another scrunch and half twist at the second loop.
Next, you will create the third loop for the piece of ribbon. This loop will be parallel to the first loop, but just a finger’s width longer.
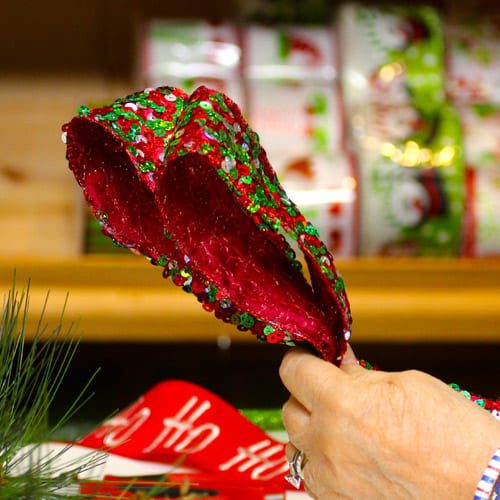
Then scrunch and twist the ribbon where the loop meets in the middle.
The long part of the ribbon will become the streamer. Cut off the piece for the end and tuck in what’s left over.
STEP 4: SET UP SECOND RIBBON
Look at how the ribbon has 2 loops on 1 end and 1 loop on the other. Grab your second ribbon and line up the material on the side with lesser loops.
Create the tail and scrunch the ribbon to create another loop, making sure to continue the gradual increase of length, allowing this loop to be a finger’s width longer than the loop before it.
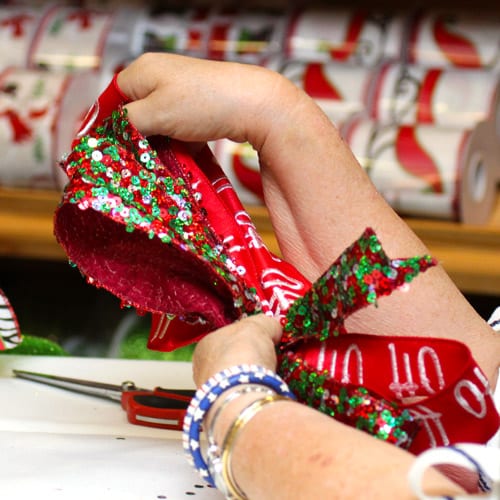
Scrunch and twist the ribbon and create another loop on the other side, keeping it a finger’s width longer than the loops in front of it.
Repeat process when creating the last loop for this piece of ribbon.
STEP 5: SET UP THIRD RIBBON
The third ribbon is a great opportunity to use a larger ribbon to create an accent and add some drama to the look of your bow.
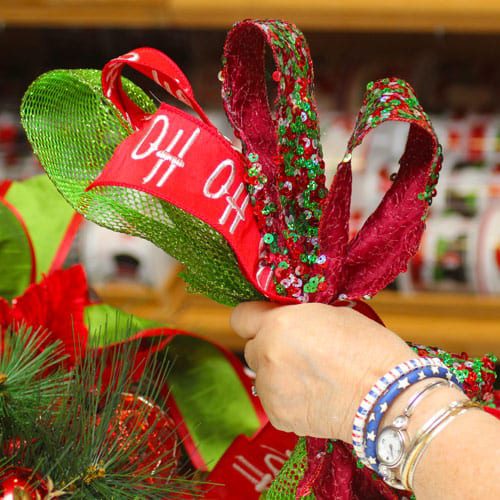
Follow the same process – create the tail and start your first loop and continuing the gradual length increase to each loop. This ribbon will only be able to create 2 loops, as opposed to 3.
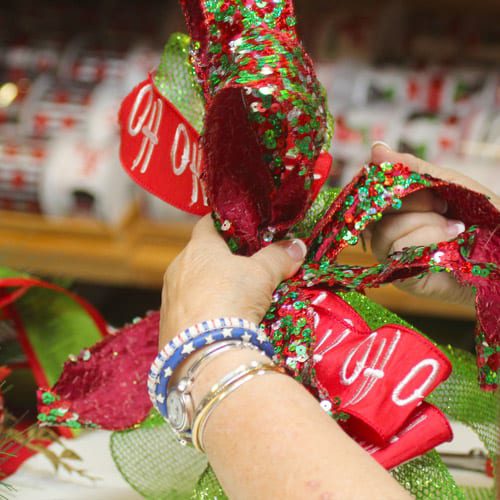
Cut the streamer off and place aside.
STEP 6: COMPLETE YOUR BOW
Notice we set these up in a linear way so that you can easily see how the loops gradually increase in size.
Grab your first streamer. Scrunch and place so the streamer so that it falls perpendicular to the bow’s loops. Add the other streamer that was cut while you also adjust the piece that was left attached because it wasn’t too long in size.
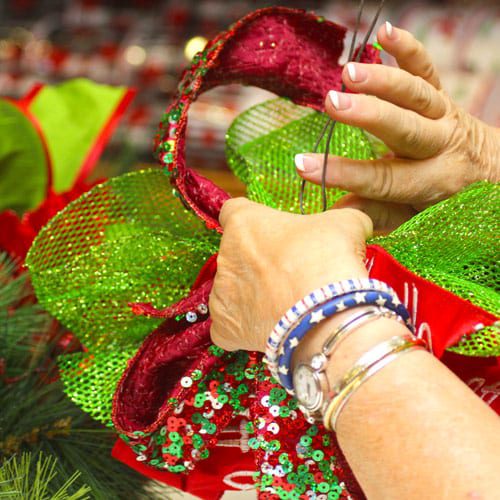
Grab your floral wire and wrap it in floral tape to make it adhere to the ribbon easier. Wrap around the middle of the bow where all the scrunching takes place.
Pull the wire tight and twist it around to hold in the ribbon. The key is to keep the wire as tight as can be so your bow will stay intact.
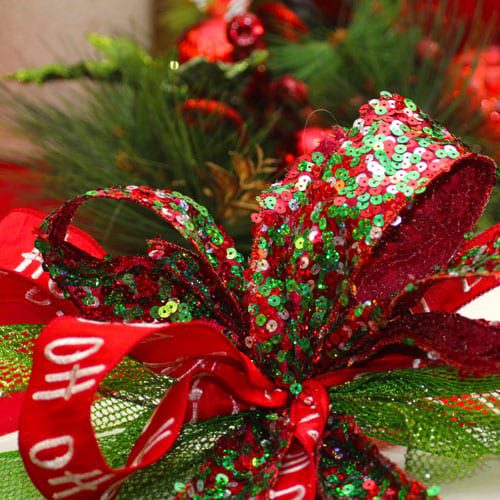
Once in place, pull the loops and adjust them out to their final resting spots in the bow.
There you have it – the perfect asymmetrical Cornelius Bow!
Stop by our store nearest you to pick up your Life-Like Christmas tree, available at select DFW locations and in Houston, and complete your tree with your new bows! For all our Houston customers, stop by Cornelius today to check out all our pre-made bows and our selection of ribbon!
