Just like peanut butter and jelly or campfires and s’mores, mums and pumpkins are a match made in heaven. Complete your next fall gathering with a naturally beautiful decoration like Mum Pumpkins. Mum Pumpkins are simply fun to make and easy to enjoy! Your family and friends will swoon over your beautiful creation! In just 2 simple steps, you can make your celebrations this fall even more vibrant with Mum Pumpkins.
STEP 1 – GATHER SUPPLIES:
For your Mum Pumpkins, you will need the following items:
- Jack O’ Lanterns
- Mums
- Calloway’s Premium Potting Soil
- Pumpkin carving tools
- Spoon
- Hand shovel
STEP 2 – CLEAN OUT YOUR PUMPKIN:
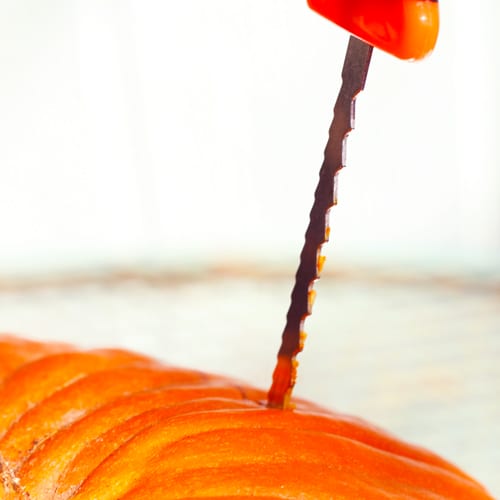
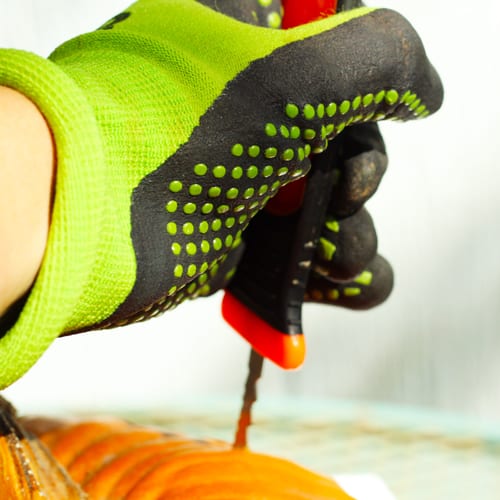
First, carefully cut open the top of your pumpkin. Make sure the opening is large enough to fit the root ball of your plant.
Using a spoon or the hand shovel, clean out the pumpkin. You will need to remove all the stringy insides and pumpkin seeds.
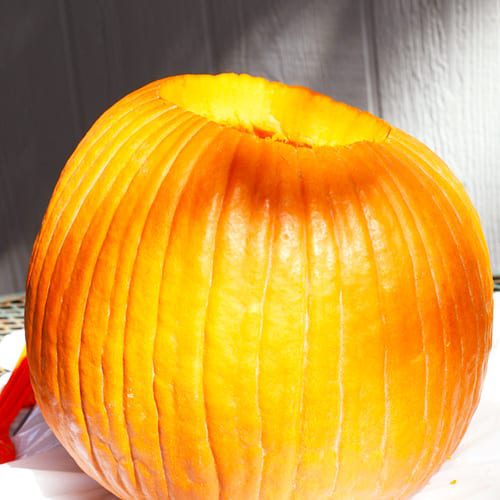
Once the pumpkin is all cleaned out, now you can start planting!
STEP 2 – PLANT YOUR MUM:
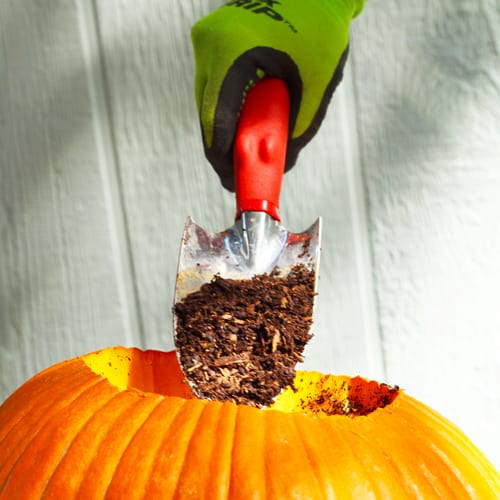
Get your Calloway’s Premium Potting Soil and hand shovel. Fill about ½ of your pumpkin with potting soil and create a space for your plant.
Next, remove your mum from the container. You can use Floral Mums or Garden Mums. Garden Mums are a great choice for the outdoors because of their full blooms. For the indoors, Floral Mums are the perfect complement with their delicate petals and lovely colors. If you decide to plant with Garden Mums, you can replant in your flowerbeds after use. Check out our blog, “All About Mums” for planting tips.
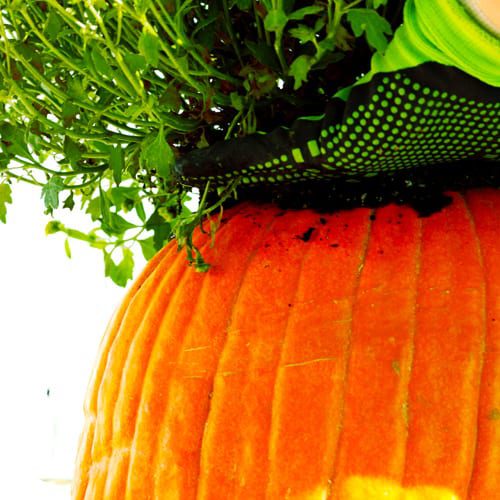
Gently break up the plant’s root ball and place into the pumpkin. Add more potting soil to fill the remainder of the pumpkin.
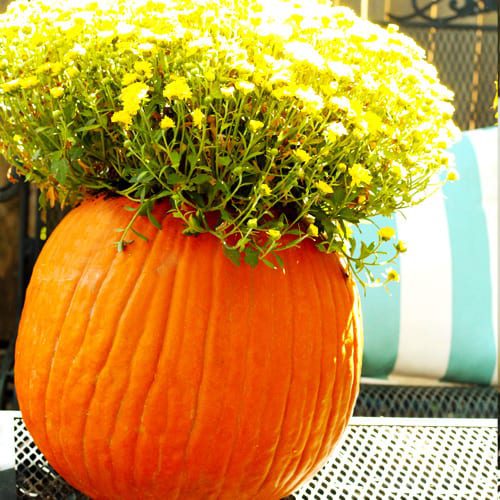
Finally, wipe off the outside of your pumpkin to remove any soil or remnants leftover from cleaning and display your creation!
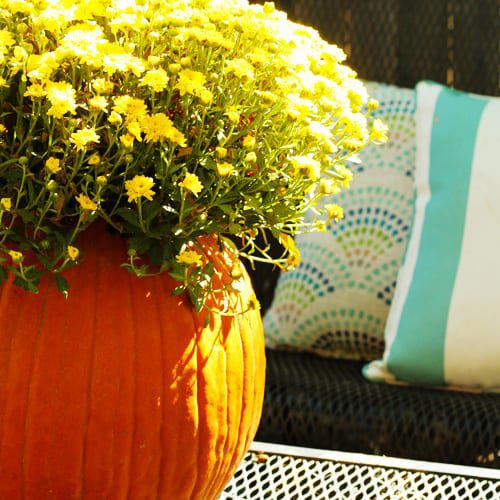
Decorate the indoors or outside with bright, autumn colors and your beautiful Mum Pumpkins. Have fun spending time and enjoying the season with your family and friends!
Stop by our store nearest you today for your Mum Pumpkin supplies and more!